Installation
How to Install Amber Wall Panels
How to Install OZO Wall Panels
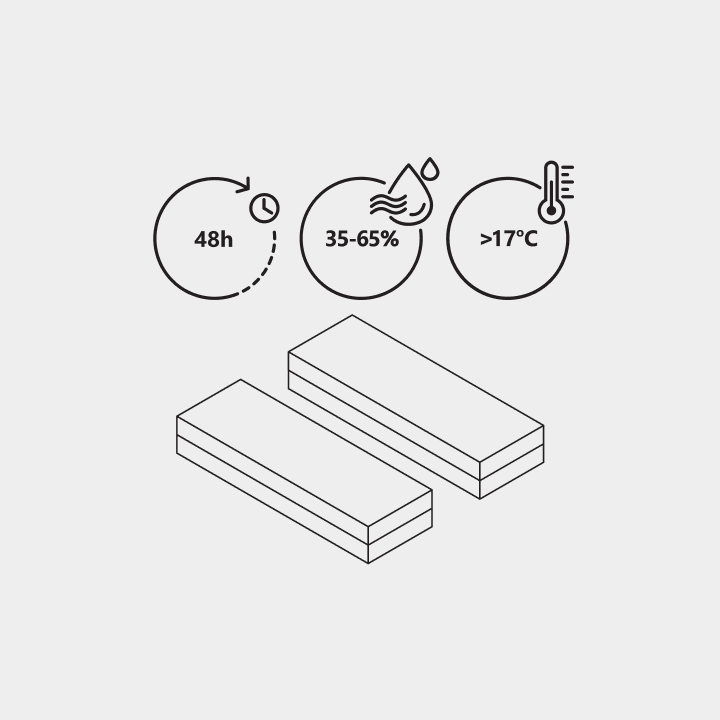
We recommend acclimatizing wood panels to the new environment for 1-2 days, keeping them packed. Room temperature must be above 17°C and 35 - 65 % relative humidity must prevail. This will ensure that the panels get used to the climate of the new room. Use elastic polymer-based mounting adhesive to glue the panels to the wall. Do not use dispersion-based (water based) adhesives, as this can lead to deformation of the panels!
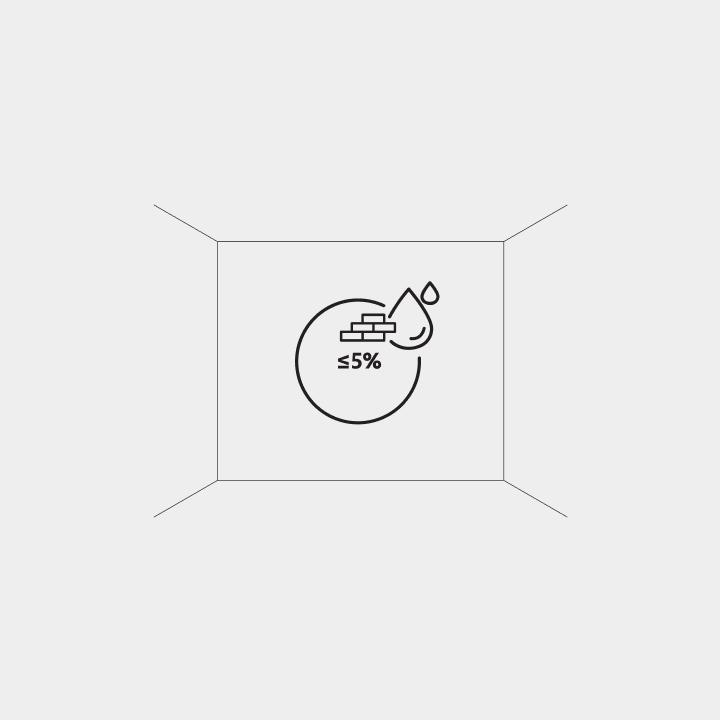
Make sure that the surface on which you will install the panels is relatively flat. The surface must also be clean, dry (a maximum residual moisture of 5 %) and free of dust. The product is intended for use in rooms with relative humidity from 35% to 65%. The panels are made of natural wood, that is why use them in high humidity places is not recommended.
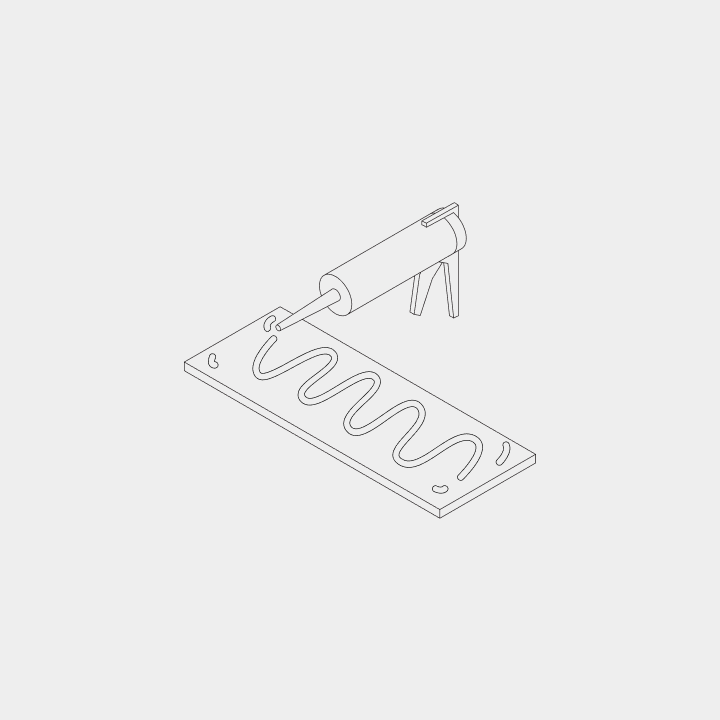
Use polymer-based flexible mounting adhesive to glue the panels to the wall. Do not use dispersion-based (water based) adhesives, as this can lead to deformation of the panels. When choosing an adhesive, follow the adhesive manufacturer’s instructions about the surface onto which you plan to glue the panels, as well as the required amount of adhesive. Apply the glue as instructed. Make sure that the glue is also applied to the corners of the panels.
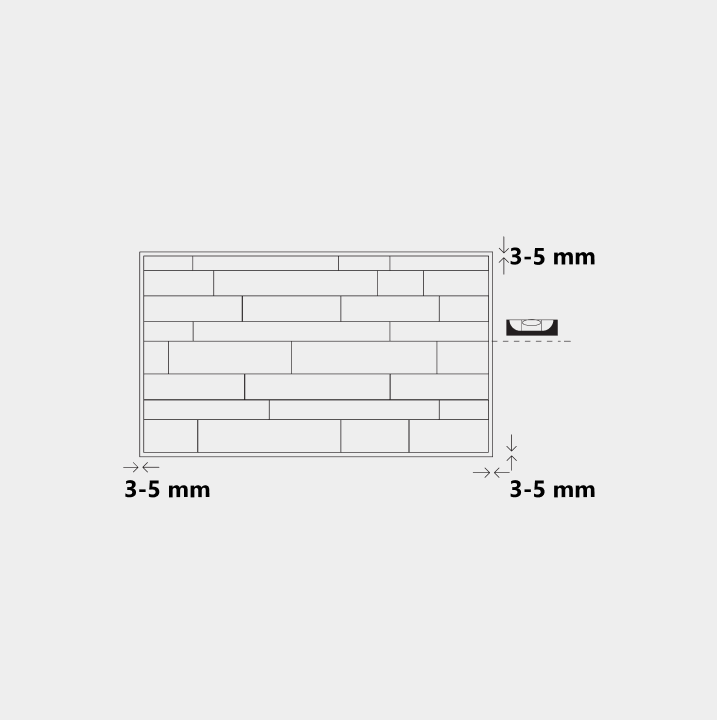
Start assembling the panels from the bottom up, leaving 3-5 mm gaps between the floor and walls. Use a spirit level for the job. Finish laying the panels with a gap of 3-5 mm from the ceiling. The decorative (facade) side of OZO model panels is structured, ribbed! Pay attention to it!

You can arrange the panels on the wall inyour own unique pattern (horizontally, vertically, diagonally, or in any pattern ofyour choice) or as shown in the diagram. If the panels are of the same width (pic. A). If the panels are of different widths (pic. B).When starting a new row, we recommen dusing the previous (same width) row cuttings. In the process of laying, for models with different thicknesses or materials (acoustic), lay them alternately or in your own unique pattern.
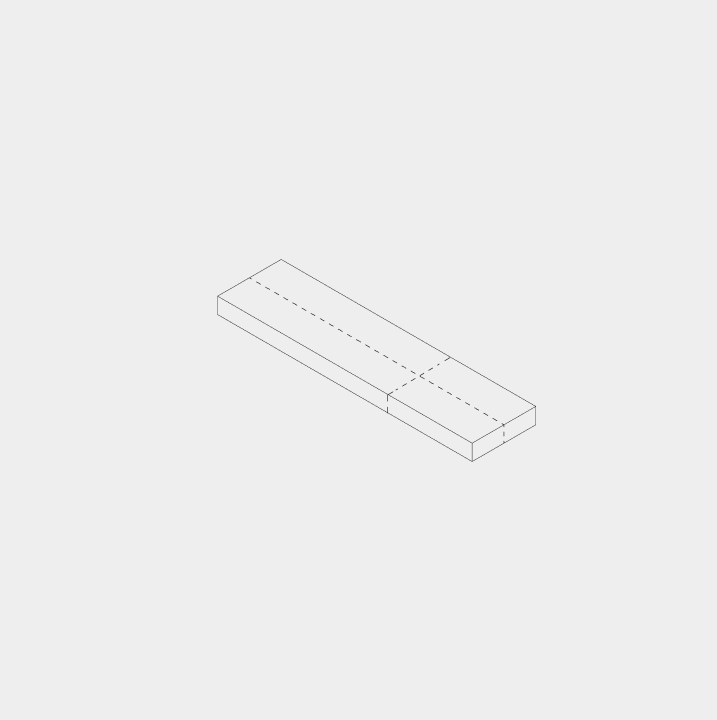
Wall panels can be sawn in several ways. Make markings on the panel to know where to saw. Saw the panel with a hand saw, circular saw, or jigsaw. Before sawing, read the operating instructions for the saw of choice. Since the panels are made of natural wood, some panels may bend slightly due to moisture and tension in the wood. If the bending of the panel does not allow it to be attached to the wall, cut it in half and place it according to the general pattern, this will not change the overall appearance of the wall in any way.
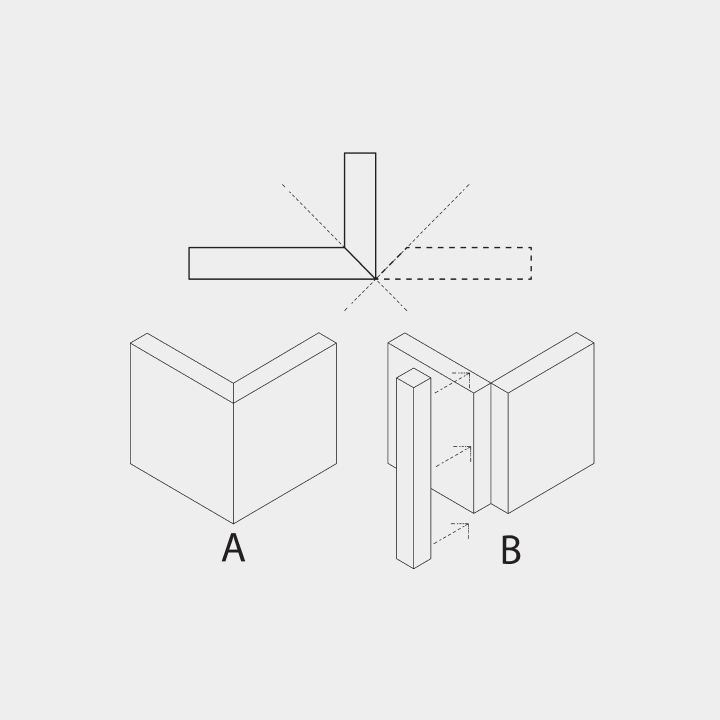
Outer angle could be made by applying panel in 45-degree angle (pic. A) or by using decorative moldings. (pic. B).
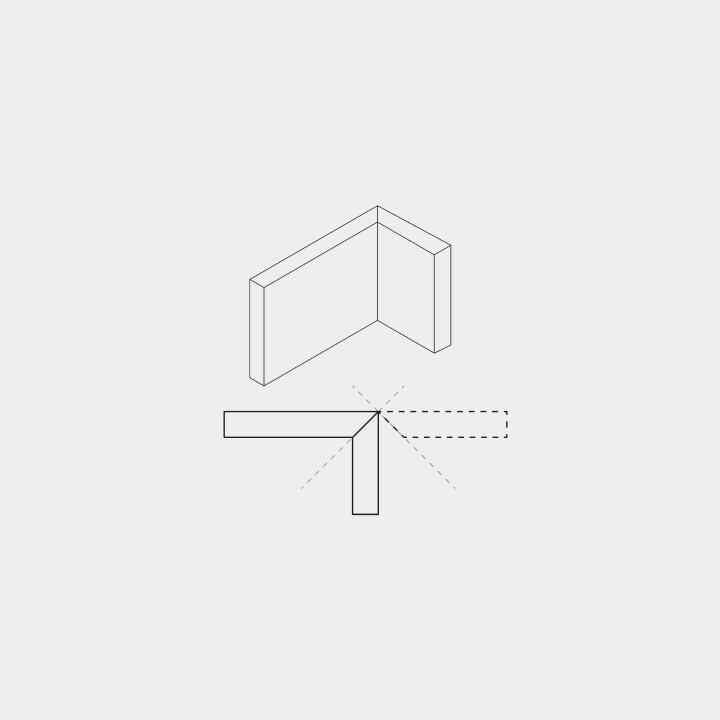
The inner corner is created by sawing the panel at a 45-degree angle.